Artisan Bread Recipe: An Amazing Ultimate Guide to Baking Perfect Loaves
Artisan Bread Recipe is a delightful venture into the world of baking. This incredible recipe will guide you on how to create your own bread from scratch, with minimal ingredients and maximum flavor. Imagine pulling a warm, crusty loaf of bread from the oven, the tempting aroma filling your kitchen. There’s something truly wonderful about the process of making artisan bread, from mixing the dough to the satisfying moment of slicing into a freshly baked loaf. In this detailed guide, you will explore the unique aspects of this recipe, including the preparation techniques, baking tips, and expert serving suggestions.
If you’ve ever dreamt of baking a loaf that rivals those found in local bakeries, this Artisan Bread Recipe is for you. The simplicity of the ingredients and the straightforward technique make it accessible for any home cook. Whether you’re an experienced baker or just starting your culinary journey, you’ll find joy in mastering this timeless craft. As the dough rises and transforms, you’ll begin to appreciate the magic of yeast and flour. So, let’s dive in and explore what makes this artisan bread recipe a must-try for anyone who loves fresh-baked goodness.
Why You’ll Love This Recipe
This Artisan Bread Recipe is beloved by many for a variety of reasons:
1. Simplicity – With just a few staple ingredients, you can create a mouthwatering loaf.
2. No Kneading Required – This method uses a long fermentation time, which means no strenuous kneading. Just mix and wait!
3. Versatile Uses – This bread is perfect for sandwiches, toasting, or simply slathering with butter.
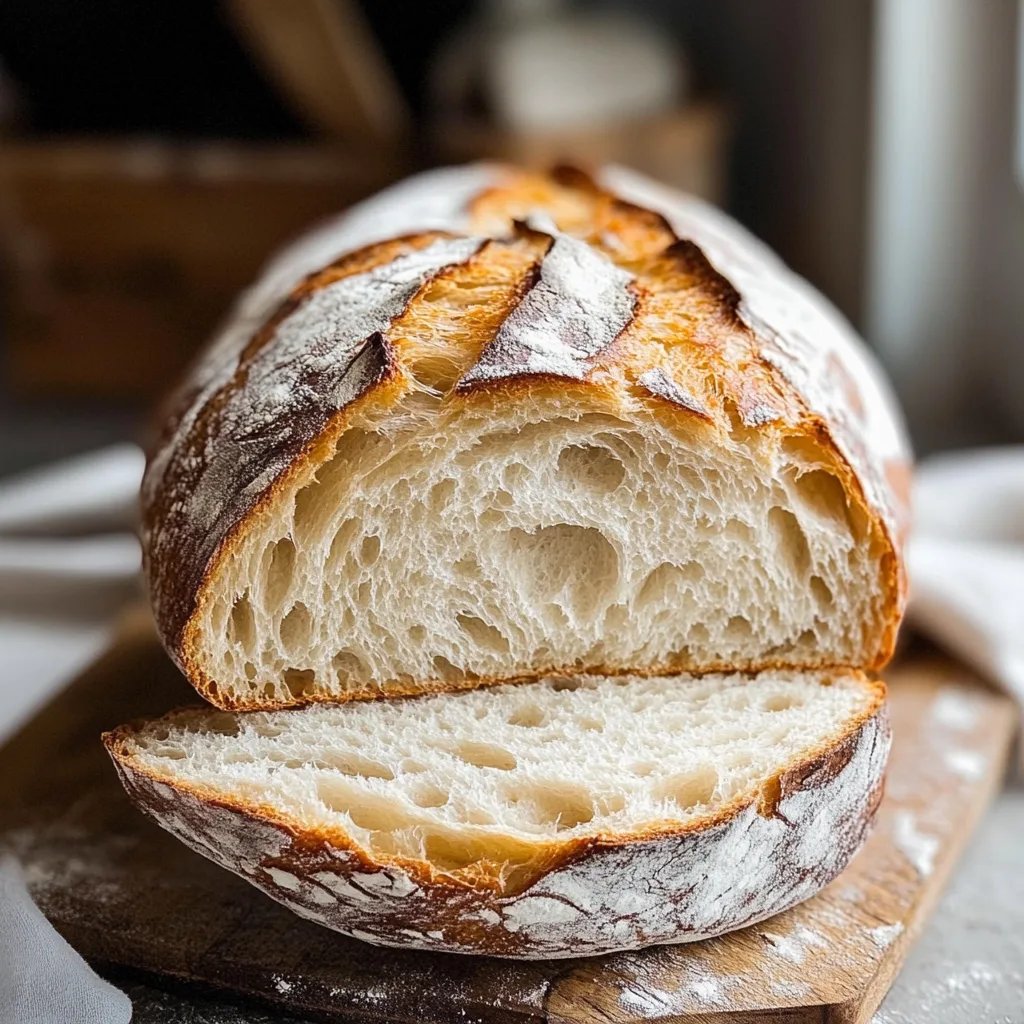
4. Crispy Crust and Soft Interior – The unique method of baking enhances the loaf’s crust while keeping the inside delightfully soft.
5. Impressive Results – Homemade bread always impresses friends and family, making it a wonderful treat for gatherings.
6. Healthier Option – You have control over the ingredients, allowing you to avoid preservatives and artificial flavors.
Each of these aspects combines to make this Artisan Bread Recipe an irresistible choice for anyone wishing to elevate their bread-making game. You’ll discover the joy of creating something truly special in your kitchen.
Preparation and Cooking Time
Preparing your Artisan Bread will take only a few hours, including resting and baking times. Here’s the breakdown:
– Preparation Time: 20 minutes
– Fermentation Time: 12-18 hours (this includes overnight resting)
– Baking Time: 30-40 minutes
– Cooling Time: 30 minutes
By planning ahead, you can have fresh, crusty bread ready for breakfast or as the perfect accompaniment to dinner.
Ingredients
– 3 cups all-purpose flour
– 1 ½ teaspoons salt
– ½ teaspoon instant yeast
– 1 ½ cups water (room temperature)
Step-by-Step Instructions
Creating your own Artisan Bread might seem daunting, but it is quite straightforward. Follow these steps for a successful loaf:
1. Mix the Ingredients: In a large mixing bowl, combine the flour, salt, and instant yeast. Stir to evenly distribute.
2. Add Water: Pour in the water, making sure to incorporate all the dry ingredients until no dry flour remains. It’s okay if the dough looks shaggy and sticky.
3. Cover and Rest: Cover the bowl with a kitchen towel or plastic wrap. Allow the dough to rest at room temperature for 12-18 hours, preferably overnight.
4. Shape the Dough: After the resting period, dust a clean surface with flour. Turn the dough out onto the floured surface and shape it gently into a ball.
5. Second Rise: Place the dough seam-side down on a piece of parchment paper. Cover it with a kitchen towel and let it rise for another 1-2 hours.
6. Preheat the Oven: During the last 30 minutes of the rising time, preheat your oven to 450°F (230°C). Place a Dutch oven or heavy pot inside to heat up.
7. Transfer the Dough: Once the oven is hot, carefully remove the pot. Pick up the parchment paper with the dough and place it inside the pot. Cover with the lid.
8. Bake the Bread: Bake for 30 minutes with the lid on, then remove the lid and bake for an additional 10-15 minutes until the top is golden brown.
9. Cool Down: Remove the bread from the pot and let it cool on a wire rack for at least 30 minutes before slicing.
These uncomplicated instructions will lead you to bake an amazing Artisan Bread that fills your home with warmth and delicious aromas.
How to Serve
Serving your artisan bread can be just as delightful as baking it. Here are several creative and enjoyable ways to serve your freshly baked loaf:
1. Warm Slices: Slice the bread while it’s still warm and serve with high-quality butter or olive oil for dipping.
2. Charcuterie Boards: Include it as part of a charcuterie board alongside cured meats, cheeses, and olives for a sophisticated touch.
3. Soups and Stews: Pair your artisan bread with hearty soups and stews. It is perfect for soaking up the flavors.
4. Toast Variations: Make delicious toast with various toppings—avocado, jam, or even a sprinkle of cinnamon and sugar.
5. Homemade Sandwiches: Use your fresh loaf to create mouth-watering sandwiches. From classic BLTs to gourmet grilled cheese, the options are endless.
By giving attention to how you present and serve your artisan bread, you enhance the entire dining experience. Each slice not only offers flavor but also brings joy to those who enjoy it. Enjoy your homemade artisan bread and the smiles it brings to the table!
Additional Tips
– Use Quality Ingredients: For the best flavor, choose high-quality flour, salt, and yeast. Fresh ingredients lead to superior results.
– Monitor Temperature: Ensure your water is at room temperature. Water too hot can kill the yeast, while cold water can hinder fermentation.
– Experiment with Hydration: Feel free to adjust the amount of water slightly. More water can yield a more open crumb structure.
– Ensure Proper Fermentation: The longer the dough ferments, the better the flavor develops. A 16-hour rise is often ideal.
– Pay Attention to Baking: Every oven is different. Keep an eye on the bread during its final minutes to prevent over-browning.
Recipe Variation
You can easily adapt this Artisan Bread Recipe to suit your tastes! Here are some delicious variations to try:
1. Herb-Infused Bread: Incorporate finely chopped fresh herbs like rosemary or thyme into the dough for a fragrant twist.
2. Cheese Loaf: Add cheese cubes or shredded cheese to the dough before the second rise for a savory surprise in every bite.
3. Sweet Version: Mix in dried fruits or chocolate chips to create a sweet artisan bread perfect for breakfast or dessert.
Freezing and Storage
– Storage: Keep your artisan bread in a bread bag or wrapped in a clean kitchen towel to maintain its freshness for about 3 days at room temperature.
– Freezing: Slices freeze exceptionally well! Wrap them in plastic wrap and then in aluminum foil. Store for up to 3 months. Thaw at room temperature or toast directly from the freezer.
Special Equipment
To bake perfect artisan bread, a few tools can make the process easier:
– Mixing bowls: Use large bowls for mixing and rising the dough.
– Parchment paper: Helps with transferring the dough and prevents sticking to the pot.
– Dutch oven: A heavy pot that creates steam while baking, essential for that crispy crust.
– Kitchen towel or plastic wrap: Help cover the dough during its rising phases.
Frequently Asked Questions
How do I know when the bread is done baking?
Check for a golden-brown crust and tap the bottom of the loaf. If it sounds hollow, it’s done!
Can I make this bread without a Dutch oven?
Yes! You can use a baking stone or a regular baking sheet. Just place a pan with water in the oven to create steam.
Can I add seeds to the crust?
Absolutely! Sprinkle sesame seeds, poppy seeds, or even flax seeds on top before baking for added texture and flavor.
What if my dough didn’t rise?
Check if your yeast is still active. It should bubble when combined with warm water. If not, you may need to start over with fresh yeast.
Can I use whole wheat flour?
Yes! Substitute half of the all-purpose flour with whole wheat flour for a heartier texture. You may need to adjust the water slightly.
Conclusion
Baking your own artisan bread is an enriching experience. With just a few simple steps, you can create a masterpiece that fills your home with warmth and wonderful aromas. From the first mix to the final slice, every moment is a celebration of culinary creativity. This Artisan Bread Recipe is not just about the bread itself; it’s about the joy of baking, the moments spent with loved ones, and the satisfaction of enjoying a homemade treat. So gather your ingredients, follow the steps, and relish in the delight of freshly baked artisan bread!