Artisan Charcuterie Board: An Incredible Ultimate Guide
Artisan Charcuterie Board is a delightful way to elevate any gathering, whether it’s a casual get-together, a fancy dinner party, or a cozy night in. This amazing culinary creation involves a carefully curated selection of meats, cheeses, fruits, nuts, and accompaniments, designed to please the palate and enhance social interactions. Imagine a beautifully arranged board laid out on your dining table, inviting your guests to dig in, marveling at its artistic presentation. Charcuterie boards are not only about the food; they embody a spirit of sharing and togetherness, making them an essential component of any memorable occasion.
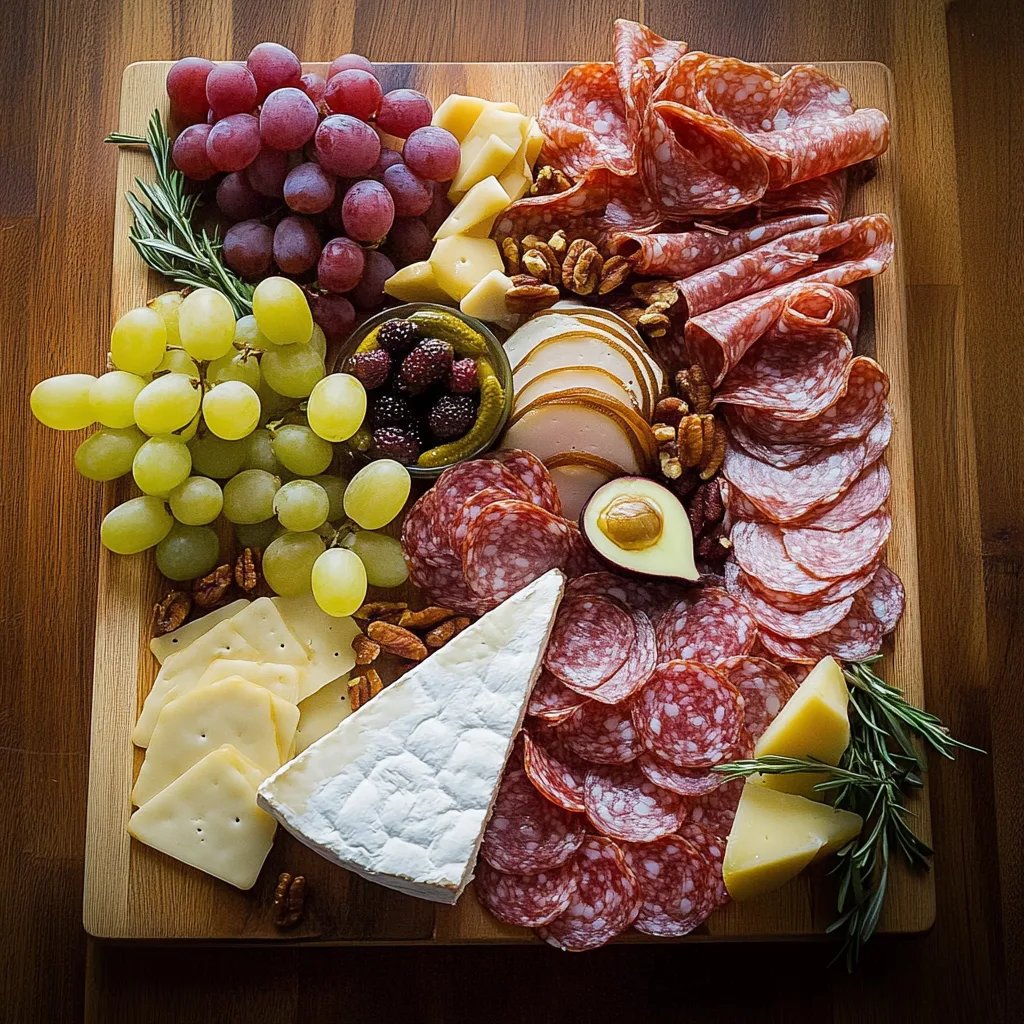
When you think of an Artisan Charcuterie Board, envision an array of vibrant colors, enticing aromas, and a variety of textures. The combination of rich, savory flavors from high-quality cured meats paired with creamy, tangy cheeses creates an incredible taste experience. Moreover, the addition of crunchy nuts, sweet fruits, and zesty pickles or spreads rounds out the flavor profile, ensuring that there’s something for everyone’s preference. Crafting an Artisan Charcuterie Board allows you to showcase your creativity, impressing friends and family with your flair for presentation and flavor combination.
In this comprehensive guide, we’ll dive into what makes an Artisan Charcuterie Board truly special, the key ingredients you’ll need, along with preparation tips, serving suggestions, and much more. Whether you’re a seasoned charcuterie creator or a newbie eager to impress, this article is filled with useful insights that will have you making stunning boards in no time.
Why You’ll Love This Recipe
Artisan Charcuterie Boards are incredibly versatile and adaptable, catering to various tastes and dietary restrictions. Here are some compelling reasons why you’ll love creating your own:
1. Creative Freedom – Choose from a wide array of ingredients and arrange them in a way that reflects your style.
2. Perfect for Any Occasion – Whether it’s a holiday, a birthday party, or a simple gathering, a charcuterie board fits right in.
3. Visual Appeal – The vibrant colors and textures of the ingredients create an eye-catching centerpiece on your table.
4. Sharing Experience – Charcuterie boards encourage conversation and connection among guests as they mingle and sample different offerings.
5. Customizable – Easily adjust ingredients for dietary preferences, including vegetarian or gluten-free options.
6. No Cooking Required – Assembly is simple and doesn’t require any cooking skills, making it accessible for everyone.
With these factors in mind, it’s easy to see why Artisan Charcuterie Boards have grown in popularity. Each board tells its own story, inviting guests to engage with both the flavors and each other.
Preparation and Cooking Time
Creating an Artisan Charcuterie Board is quick and straightforward. Here’s a brief overview of the time you’ll need:
– Preparation Time: 20-30 minutes (depending on the number of ingredients and complexity)
Since there’s no cooking involved, the process is all about selection, arrangement, and presentation. The real joy comes from the creativity and the enjoyment when it’s time to serve!
Ingredients
– Assorted cured meats (prosciutto, salami, chorizo, etc.)
– Variety of cheeses (cheddar, brie, gouda, goat cheese, etc.)
– Fresh fruits (grapes, figs, apple slices, berries, etc.)
– Dried fruits (apricots, cranberries, raisins, etc.)
– Nuts (almonds, walnuts, pecans, etc.)
– Fresh herbs (rosemary, thyme, parsley, etc.)
– Crackers or breadsticks
– Spreads and dips (honey, jam, mustard, hummus)
– Pickles or olives
Step-by-Step Instructions
Creating your Artisan Charcuterie Board is easy with these simple steps:
1. Select the Board: Choose a wooden, slate, or ceramic board to serve as your base. The size depends on the number of guests and ingredients.
2. Arrange the Cheeses: Start by placing cheese on the board. For visual appeal, choose different shapes (cubed, sliced, or whole).
3. Add the Meats: Roll or fold meats and place them next to the cheeses for a harmonious arrangement.
4. Incorporate Fresh Fruits: Scatter fresh fruits like grapes, apple slices, or figs around the cheese and meats for pops of color.
5. Include Dried Fruits: Fill in gaps with dried fruits to add sweetness and chewy texture.
6. Scatter Nuts: Sprinkle your choice of nuts in small bunches for added crunch and flavor.
7. Add Crackers or Breadsticks: Make space for crackers and breadsticks; arrange them in a decorative manner.
8. Include Spreads and Dips: Place small bowls of honey, jams, or spreads near the cheeses, inviting guests to explore different flavor combinations.
9. Finish with Pickles and Herbs: Add pickles and herbs as finishing touches to enhance the board’s aesthetic and flavor profile.
10. Presentation: Ensure everything is aesthetically pleasing and balanced. Fill any empty spaces to create a cohesive look.
Following these steps will help you assemble a stunning Artisan Charcuterie Board that’s sure to impress!
How to Serve
Serving your Artisan Charcuterie Board involves more than just placing it on the table. Here are some tips to enhance the serving experience:
1. Serve with Thought: Position the board at the center of the dining table or on a side table where guests can easily access it.
2. Provide Utensils: Include small forks, toothpicks, or cheese knives to facilitate easy sampling.
3. Accompaniments: Consider offering wine or a selection of drinks that pair well with the flavors presented in the board.
4. Encourage Sharing: Invite guests to mingle around the board and try different combinations of flavors. This interaction enhances the overall enjoyment of the meal.
5. Keep it Fresh: If the gathering lasts longer, consider refreshing the board with additional items to keep it visually appealing.
By focusing on presentation and guest engagement, you can make serving your Artisan Charcuterie Board an unforgettable experience for everyone involved. Enjoy the delightful flavors and the connection that comes with sharing food!
Additional Tips
– Use Seasonal Ingredients: Incorporate fruits and vegetables that are in season for the freshest flavors on your Artisan Charcuterie Board.
– Experiment with Textures: Pair smooth cheeses with crunchy nuts and crispy crackers to create an appealing contrast.
– Label Ingredients: If serving a large group, consider labeling different items. This helps guests with dietary restrictions know what they can enjoy.
– Consider Flavor Profiles: Pair sweet fruits with salty meats and pungent cheeses. This variety enhances the tasting experience.
– Mid-event Refills: If your board empties quickly, don’t hesitate to refill it with new ingredients to keep your guests engaged.
Recipe Variation
There are countless ways to customize your Artisan Charcuterie Board. Here are some versatile variations:
1. Mediterranean Twist: Use Mediterranean cheeses like feta and halloumi, add olives, and include pita bread and hummus.
2. Sweet Tooth Board: Create a dessert board using chocolate, candied nuts, fruits, and a variety of sweet dips, such as chocolate fondue.
3. Vegan Charcuterie: Replace meats and cheeses with plant-based alternatives like hummus, guacamole, nuts, and veggies, making it suitable for vegan diets.
4. Breakfast Board: Include breakfast items like pastries, yogurt, seasonal fruits, and honey, perfect for a brunch gathering.
5. Game Day Board: Incorporate items like popcorn, chips, salsa, and assorted dips. A fun addition for sports events!
Freezing and Storage
– Storage: Keep leftover ingredients in airtight containers in the refrigerator. They should last for 3-5 days, depending on the freshness of the items.
– Freezing: While most cured meats and cheeses don’t freeze well, you can freeze some elements like homemade spreads or dips for future use. Ensure they are well-containerized to avoid freezer burn.
Special Equipment
To successfully create and serve your Artisan Charcuterie Board, you may consider having the following tools on hand:
– Large cutting board or serving platter: A wooden or slate board is ideal for base presentation.
– Cheese knives: Essential for serving cheese and creating aesthetically pleasing slices.
– Small serving bowls: Perfect for dips, honey, and spreads to keep them neatly organized on the board.
– Tongs or toothpicks: Useful for your guests to easily serve themselves without creating a mess.
– Decorative elements: You can add flowers, herbs, or seasonal décor to enhance the visual appeal of your board.
Frequently Asked Questions
How long can I keep my Artisan Charcuterie Board out?
Generally, it’s safe to keep your board out for about 2 hours at room temperature, especially in warm weather.
What if I have leftovers?
Place any remaining foods in airtight containers and refrigerate. They can be used to create another board later.
Can I use frozen ingredients?
While it’s best to use fresh ingredients for the best flavor experience, some ingredients like nuts can be used from frozen.
Should I prepare everything in advance?
You can prepare by cutting and arranging items on the board a few hours ahead of time. However, keep items like fruits and fresh herbs added right before serving for optimal presentation.
Is it appropriate to use a single board for different types of charcuterie?
While you can, it’s often best to create themed boards to avoid flavor overlap, especially if combining meat and vegetarian options.
Conclusion
The Artisan Charcuterie Board is an impressive and enjoyable way to bring people together. With its vibrant colors, intricate presentations, and diverse flavors, it is not just a meal, but an engaging experience for your guests. Whether you’re hosting a casual gathering or a formal event, this board will undoubtedly steal the show. Now you’re equipped with all the tips, variations, and insights needed to craft your unique charcuterie masterpiece. Get creative, have fun, and enjoy the process of sharing delicious food with loved ones.