Homemade Cheesy Breadsticks: An Amazing Ultimate Recipe
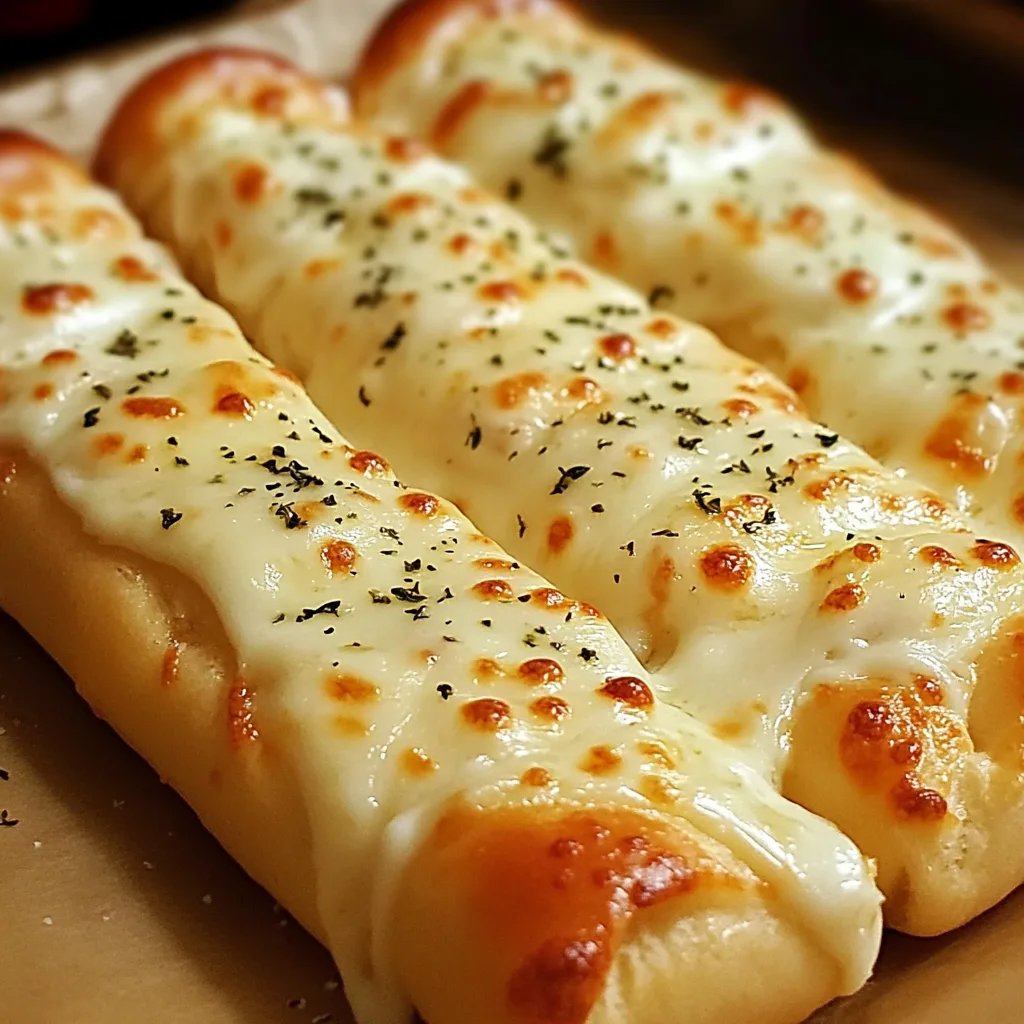
Homemade Cheesy Breadsticks are an incredible treat that no one can resist. These delicious snacks are the epitome of comfort food, combining the goodness of bread with the rich flavors of cheese. Perfect for parties, game nights, or even just a cozy evening at home, these breadsticks are sure to impress anyone who tries them. The moment you pull them out of the oven, the cheesy aroma fills the air, enticing everyone around to gather and indulge in this delightful snack.
If you’ve ever tasted the warm, gooey goodness of cheesy breadsticks, you understand their appeal. The first bite reveals layers of flavor and textures that create a harmonious blend, making them utterly irresistible. Whether you enjoy them plain, dipped in marinara sauce, or topped with your favorite herbs, these breadsticks offer an amazing variety of options. In this guide, you will discover why this recipe is a must-try, how to prepare them, and tips on making the perfect cheesy breadsticks from the comfort of your kitchen.
With a combination of simple ingredients and straightforward steps, creating these delicious Homemade Cheesy Breadsticks is a delightful experience. Even novice cooks will find joy in making these delectable treats that will delight family and friends alike. So, let’s dive into what makes Homemade Cheesy Breadsticks an essential recipe for any kitchen!
Why You’ll Love This Recipe
Homemade Cheesy Breadsticks come with several benefits that make them a favorite among many. Here are some compelling reasons to love this recipe:
1. Easy to Make: With minimal ingredients and straightforward instructions, anyone can whip these up in no time.
2. Customizable Toppings: Feel free to experiment! Add herbs, spices, or even different types of cheese to suit your taste.
3. Perfect for Any Occasion: Whether it’s a get-together, a game night, or simply a snack, these breadsticks always fit in.
4. Kid-Friendly: Children love cheese, and these breadsticks make for a delicious and fun snack option!
5. Great Pairing for Dips: Enjoy them with marinara sauce, alfredo sauce, or even your favorite salsa for an exciting twist.
6. Flavorful: Each bite bursts with flavor, making them an addictive treat you’ll want to make over and over.
With such a delicious profile, it’s no wonder that these Homemade Cheesy Breadsticks are such a hit! You’ll find yourself continually drawn back to this recipe.
Preparation and Cooking Time
Making Homemade Cheesy Breadsticks requires a little bit of your time in the kitchen but is worth every minute! Here’s how the timing breaks down:
– Preparation Time: 15 minutes
– Cooking Time: 20-25 minutes
– Total Time: Approximately 40-45 minutes
These times can fluctuate slightly based on individual cooking skills and equipment, but these estimates will give you a good framework for planning.
Ingredients
– 2 cups all-purpose flour
– 1 tablespoon sugar
– 1 tablespoon baking powder
– 1 teaspoon salt
– 1 cup whole milk
– 1/4 cup unsalted butter, melted
– 2 cups shredded mozzarella cheese
– 1/2 cup grated Parmesan cheese
– 1 teaspoon garlic powder
– 1 teaspoon Italian seasoning
– Optional: Marinara sauce for dipping
Step-by-Step Instructions
Creating Homemade Cheesy Breadsticks can be simple and fun! Follow these steps:
1. Preheat the Oven: Set your oven to 425°F (220°C) and line a baking sheet with parchment paper.
2. Mix Dry Ingredients: In a large bowl, combine the flour, sugar, baking powder, and salt. Stir to blend well.
3. Combine Wet Ingredients: In a separate bowl, mix the milk and melted butter until well incorporated.
4. Combine Mixtures: Gradually add the wet ingredients to the dry mixture, stirring until a soft dough forms.
5. Knead the Dough: Lightly flour a clean surface and knead the dough for about 1-2 minutes until smooth.
6. Roll Out the Dough: Use a rolling pin to flatten the dough into a rectangle about ½ inch thick.
7. Add Cheese and Seasoning: Sprinkle the mozzarella, Parmesan, garlic powder, and Italian seasoning evenly over the dough.
8. Fold the Dough: Carefully fold the dough over the cheese and gently press down to seal it all in.
9. Cut into Sticks: Using a pizza cutter or knife, slice the dough into breadstick shapes.
10. Transfer to Baking Sheet: Place the cut sticks onto the prepared baking sheet, arranging them close together if desired.
11. Bake: Bake for 20-25 minutes or until golden brown and the cheese is bubbling.
12. Cool and Serve: Remove from the oven and let the breadsticks cool for a few minutes before serving.
These steps guide you in creating cheesy breadsticks that are sure to impress!
How to Serve
To elevate your Homemade Cheesy Breadsticks even further, consider these serving suggestions:
1. Present with Dips: Serve with marinara sauce, ranch dressing, or garlic butter for an appetizing touch.
2. Garnish: A sprinkle of chopped parsley or extra grated cheese on top right before serving adds flair.
3. Pair with Meals: Enjoy them as a side with pasta dishes, soups, or salads for a complementary flavor.
4. Warm Them Up: If they cool off, simply reheat in the oven for a few minutes to restore their gooey texture.
5. Serve Alongside Drinks: Pair with your favorite beverage, whether it’s soda, wine, or a cocktail, to enhance the experience.
By adding these simple touches, you create a memorable treat for your guests or family. Enjoy!
Additional Tips
– Use Fresh Ingredients: Fresh herbs and high-quality cheese make all the difference in flavor and texture.
– Allow Dough to Rest: Letting the dough sit for a few minutes before baking can enhance its texture and flavor.
– Experiment with Cheeses: Feel free to try different cheese blends. Cheddar, gouda, or a spicy pepper jack can elevate the taste.
– Adjust Seasoning: Tailor the garlic powder and Italian seasoning to fit your taste preference.
– Bake to Perfection: Watch the breadsticks closely during the last few minutes to avoid over-browning.
Recipe Variation
Mix it up! Here are a few variations of Homemade Cheesy Breadsticks to try out:
1. Stuffed Breadsticks: Add pepperoni, spinach, or even cooked sausage in the cheese layer for a heartier snack.
2. Sweet Cinnamon Breadsticks: Omit the savory seasonings and sprinkle with cinnamon and sugar for a sweet treat.
3. Herbed Breadsticks: Incorporate fresh herbs like rosemary or thyme into the dough for an aromatic twist.
4. Gluten-Free Version: Use a gluten-free flour blend instead of all-purpose flour for gluten-sensitive friends.
Freezing and Storage
– Storage: Store leftover breadsticks in an airtight container at room temperature for up to 2 days or in the refrigerator for up to a week.
– Freezing: Freeze the baked breadsticks in a single layer. Once frozen solid, transfer them to a freezer-safe bag. They can be stored for up to 3 months. Reheat in the oven when ready to enjoy!
Special Equipment
To create your Homemade Cheesy Breadsticks, you will need:
– Mixing bowls for the dough
– Rolling pin for flattening the dough
– Baking sheet lined with parchment paper
– Pizza cutter or sharp knife for cutting the breadsticks
– Measuring cups and spoons for accuracy
Frequently Asked Questions
Can I use a bread machine to make this recipe?
Yes, you can prepare the dough in a bread machine using the dough setting for convenience.
Is it possible to make these breadsticks vegan?
Absolutely! Substitute milk with plant-based milk and use a dairy-free butter alternative along with vegan cheese.
How do I know when the breadsticks are done baking?
Look for a golden-brown color and melted, bubbling cheese. They should feel firm but soft to the touch.
Can I make the dough ahead of time?
You can prepare the dough a few hours in advance and refrigerate it. Just bring it to room temperature before rolling it out.
What can I do with leftover breadsticks?
Leftover breadsticks are great for sandwiches, or you can repurpose them into croutons for salads or soups.
Conclusion
Homemade Cheesy Breadsticks are an exceptional treat that brings joy to any occasion. Their easy preparation and customizable nature allow you to serve them up just the way you love. Whether enjoyed fresh from the oven or frozen for later, these cheesy delights will undoubtedly become a favorite in your home. Try this recipe today and experience the warmth and comfort they bring!