Homemade Cheesy Breadsticks: An Incredible Ultimate Recipe
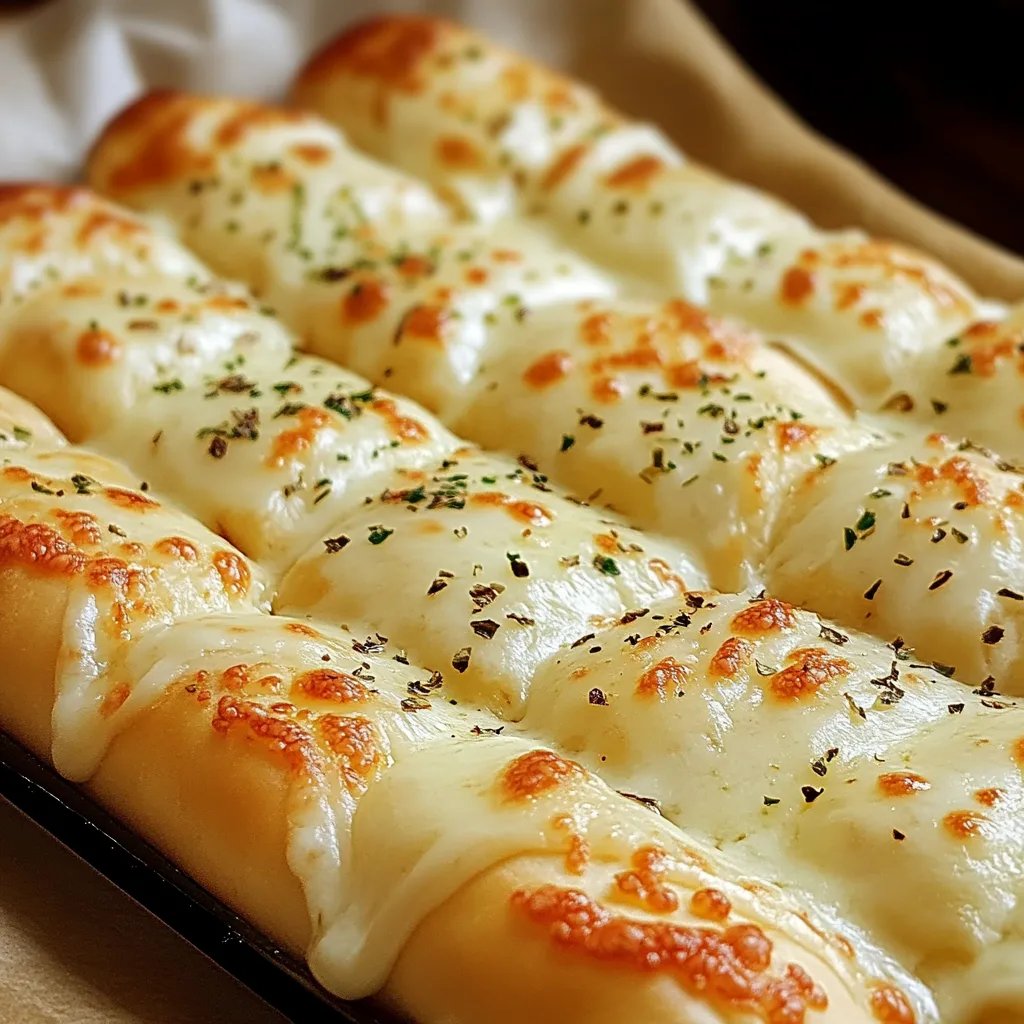
Homemade Cheesy Breadsticks are an amazing way to treat yourself and your family. These delightful snacks combine the stretchy goodness of melted cheese with a dough that’s soft and pillowy on the inside while crispy on the outside. Perfect for dipping in marinara sauce or enjoying on their own, these breadsticks are a perfect addition to any meal or gathering. You’ll find them to be versatile, delicious, and incredibly easy to make, making them an essential recipe for any home cook. Dive into the world of mouthwatering flavors and comforting textures with this incredible recipe that promises satisfaction!
If you’ve never made Homemade Cheesy Breadsticks, you are in for a real treat! They are incredibly satisfying and perfect for a movie night, a casual dinner, or even as a delicious appetizer at parties. The aroma of freshly baked breadsticks will fill your kitchen, drawing everyone in. Plus, you can customize the cheese types or add spices to suit your taste preferences. In this guide, you will discover why this recipe stands out, how to prepare the breadsticks, and tips for serving them to your guests. Get ready to impress with this amazing recipe!
With their stretchy cheese and herbs, these Homemade Cheesy Breadsticks become more than just a snack. They are a culinary experience, inviting you to savor each delicious bite. Let’s explore what makes this recipe essential for every home cook!
Why You’ll Love This Recipe
Homemade Cheesy Breadsticks will quickly become a favorite in your household. Here are several fantastic reasons why making these cheese-filled delights is worthwhile!
1. Quick and Easy Preparation: With simple ingredients and straightforward steps, you can whip these up in no time.
2. Versatile Flavor Profile: You can use various types of cheese, such as mozzarella, cheddar, or even feta, to customize the flavor to your liking.
3. Perfect for Any Occasion: Whether it’s a game day snack, party appetizer, or a side dish for pasta, these breadsticks fit the bill.
4. Customizable Toppings: Sprinkle herbs such as oregano, basil, or garlic powder on top for an extra flavor boost.
5. Family-Friendly Fun: Kids love them! It’s a great way to involve the family in the cooking process.
6. Great for Dipping: Pair them with marinara or ranch dressing for a delightful dipping experience.
With these reasons in your corner, you can see why Homemade Cheesy Breadsticks are a must-have recipe for anyone looking to indulge in comfort food.
Preparation and Cooking Time
Making Homemade Cheesy Breadsticks is a breeze and won’t take much of your time. Here’s an overview of the time you should allocate for this delicious dish:
– Preparation Time: 15 minutes
– Cooking Time: 20-25 minutes
– Total Time: Approximately 40-45 minutes
This time frame makes it an easy option for busy weeknights or sudden cravings!
Ingredients
– 2 cups all-purpose flour
– 1 tablespoon instant yeast
– 1 teaspoon sugar
– 1 teaspoon salt
– ¾ cup warm water (about 110°F)
– 2 tablespoons olive oil
– 1 cup shredded mozzarella cheese
– ½ cup grated Parmesan cheese
– 1 teaspoon garlic powder (optional)
– 1 teaspoon dried oregano (optional)
– 1 tablespoon butter, melted (for brushing)
Step-by-Step Instructions
Follow these easy steps to prepare your Homemade Cheesy Breadsticks:
1. Activate Yeast: In a small bowl, combine warm water, sugar, and yeast. Let it sit for about 5-10 minutes, until foamy.
2. Mix Dry Ingredients: In a large mixing bowl, whisk together the flour and salt.
3. Combine Mixtures: Add the foamy yeast mixture and olive oil to the dry ingredients. Stir until a dough forms.
4. Knead the Dough: Transfer the dough to a floured surface. Knead for about 5-7 minutes until smooth and elastic.
5. First Rise: Place the dough in an oiled bowl, cover with a cloth, and let it rise in a warm area for about 30 minutes, or until doubled in size.
6. Preheat Oven: While the dough is rising, preheat your oven to 400°F (200°C).
7. Shape the Breadsticks: After the dough has risen, punch it down and roll it out into a rectangle about ½ inch thick. Cut into strips for breadsticks.
8. Add Cheese: Place a generous amount of mozzarella and Parmesan cheese on top of each strip. Fold the dough over, ensuring the cheese is enclosed.
9. Second Rise: Cover the breadsticks with a cloth and let them rise for an additional 15-20 minutes.
10. Bake: Brush the tops with melted butter and sprinkle with garlic powder and oregano if desired. Bake for 20-25 minutes or until golden brown.
11. Cool Slightly: Allow the breadsticks to cool for a few minutes before serving.
These steps will guide you toward creating the ultimate cheesy treat effortlessly.
How to Serve
To elevate your serving experience, consider these delightful ideas:
1. Dipping Sauces: Serve with warm marinara sauce, ranch dressing, or garlic butter for an extra flavor kick.
2. Presentation: Arrange the breadsticks on a rustic wooden board or a beautiful platter for a visually appealing spread.
3. Garnish: Garnish with fresh herbs like parsley or basil for an elegant touch.
4. Pairing: Consider pairing the breadsticks with a hearty soup, salad, or even a pasta dish to create a complete meal.
5. Temperature: Serve them warm right out of the oven, as that’s when they taste the best!
By thinking ahead on how to serve your Homemade Cheesy Breadsticks, you’ll create an impressive spread that your family and guests will love!
Additional Tips
– Use Fresh Ingredients: Ensure your yeast is fresh for optimal rising. Fresh herbs also enhance flavor.
– Experiment with Cheese: Try different cheeses like Gouda, Monterey Jack, or pepper jack for a unique twist.
– Keep Dough Moist: If the dough becomes too dry, add a little more water, a tablespoon at a time, until it’s smooth.
– Serve Immediately: Enjoy breadsticks warm from the oven for the best cheesy experience.
– Try Garlic Butter: Brush with garlic-infused butter instead of plain butter for extra flavor.
Recipe Variation
Feel free to explore these variations to customize your Homemade Cheesy Breadsticks:
1. Cheese and Herb Blend: Mix different cheeses, such as cheddar and mozzarella, for a flavorful combination.
2. Spicy Kick: Add chopped jalapeños or red pepper flakes to the cheese filling for a spicy version.
3. Stuffed Breadsticks: Fill the breadsticks with pepperoni or cooked sausage for a heartier snack.
4. Sweet Twist: For a dessert option, replace the cheese with cinnamon sugar and a drizzle of icing after baking.
Freezing and Storage
– Storage: Keep your Homemade Cheesy Breadsticks wrapped in plastic wrap or in an airtight container to maintain their freshness. They will stay good for 3-4 days at room temperature.
– Freezing: Freeze the baked breadsticks in a single layer on a baking sheet. Once frozen solid, transfer to a freezer-safe bag for up to 2 months. Reheat in the oven when ready to enjoy.
Special Equipment
To make Homemade Cheesy Breadsticks, you will need the following equipment:
– Mixing bowls
– Rolling pin for shaping the dough
– Baking sheet lined with parchment paper for easy cleanup
– Oven mitts for safe handling of hot items
– Dough scraper or knife for cutting the breadsticks
Frequently Asked Questions
Can I use different types of flour?
Yes, you can experiment with whole wheat flour or gluten-free flour, but results may vary.
What can I serve with Homemade Cheesy Breadsticks?
They pair perfectly with marinara sauce, ranch dressing, or even a rich cheddar dip.
Can I make the dough ahead of time?
Absolutely! You can prepare the dough a few hours in advance. Just keep it covered in the fridge until you are ready to shape and bake the breadsticks.
How do I know when the breadsticks are done baking?
They are ready when they are golden brown on top and have a lovely cheesy aroma.
Conclusion
Homemade Cheesy Breadsticks are not just a snack; they are a delicious experience that can elevate any meal or gathering. Their warm, cheesy interior and crispy exterior make them a crowd-pleaser, whether enjoyed alone or with a tasty dip. With their ease of preparation and endless customization options, these breadsticks are bound to become a staple in your home. Enjoy the satisfaction of making these delightful cheesy treats and sharing them with family and friends!