Mini Birthday Cheesecakes: An Incredible Ultimate Recipe
Mini Birthday Cheesecakes are the perfect sweet treat for any celebration. These delightful desserts bring joy and satisfaction to your taste buds with each creamy bite. They are easy to prepare and perfect for gatherings, making every birthday or special occasion memorable. Whether you’re looking to impress guests or satisfy your own cravings, these mini cheesecakes will steal the spotlight.
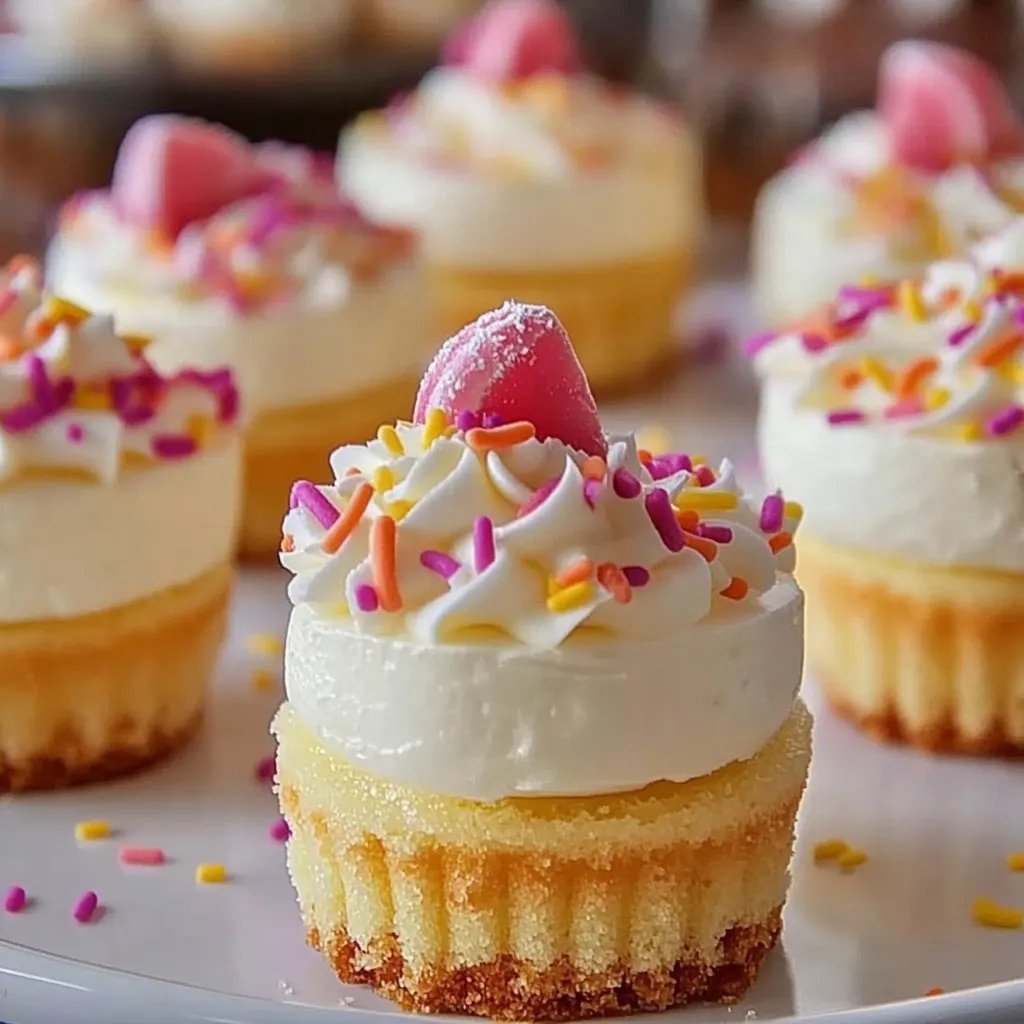
Imagine indulging in a decadent cheesecake topped with fresh fruit or rich chocolate sauce, all served in a charming, petite portion. Mini Birthday Cheesecakes combine the classic flavors of a traditional cheesecake while being perfectly portioned for sharing. Plus, their individual servings make them incredibly convenient for parties and events where guests appreciate bite-sized delights.
In this article, not only will you discover why these mini cheesecakes are a crowd-pleaser, but you will also get step-by-step instructions to make them at home. Prepare yourself to dive into a world of creamy, dreamy cheesecake goodness that will leave everyone asking for more!
Why You’ll Love This Recipe
There are countless reasons why Mini Birthday Cheesecakes are destined to be a favorite in your baking repertoire. Here are just a few:
1. Simple Ingredients: You likely already have many of the necessary ingredients at home.
2. Quick Preparation: Unlike traditional cheesecakes that take time to bake and cool, mini versions are quicker and more straightforward.
3. Customizable Toppings: Each mini cheesecake can be dressed up according to personal tastes, from fruity to chocolatey.
4. Perfect Portions: Their size makes them portion-controlled, preventing the guilt associated with larger desserts.
5. Ideal for Any Celebration: Whether for birthdays, holidays, or just a casual get-together, they fit perfectly on any dessert table.
6. Impressive Presentation: Mini cheesecakes not only taste amazing but also look beautiful, elevating any celebration.
With all these aspects combined, it’s easy to see why Mini Birthday Cheesecakes will become your go-to recipe for any occasion!
Preparation and Cooking Time
Getting your Mini Birthday Cheesecakes ready involves a few simple steps. Here’s a breakdown of the time you’ll need:
– Preparation Time: 20 minutes
– Cooking Time: 25 minutes
– Cooling Time: 1 hour
– Total Time: Approximately 1 hour and 45 minutes
These times may vary slightly based on your experience and kitchen efficiency, but this should provide a solid guide.
Ingredients
– 1 ½ cups graham cracker crumbs
– ¼ cup granulated sugar
– ½ cup unsalted butter, melted
– 16 oz cream cheese, softened
– ½ cup granulated sugar
– 2 large eggs
– 1 teaspoon vanilla extract
– ¼ cup sour cream
– Fresh fruit or chocolate sauce for topping (optional)
Step-by-Step Instructions
Creating Mini Birthday Cheesecakes is a breeze with these clear and concise steps:
1. Preheat the Oven: Preheat your oven to 325°F (160°C) and line a 12-cup muffin tin with cupcake liners.
2. Make the Crust: In a bowl, combine graham cracker crumbs, ¼ cup sugar, and melted butter. Mix until crumbs are moistened.
3. Fill the Muffin Tin: Divide the crust mixture equally among the 12 liners, pressing it down firmly to create an even layer.
4. Blend the Filling: In a mixing bowl, beat the softened cream cheese until creamy. Gradually add ½ cup sugar, mixing until well combined.
5. Add Eggs and Flavor: Incorporate the eggs one at a time while mixing. Then, add vanilla extract and sour cream, mixing until smooth and creamy.
6. Fill Each Cup: Spoon the cream cheese filling over the crusts, filling each liner about ¾ of the way full.
7. Bake: Place the muffin tin in the preheated oven and bake for 20-25 minutes, or until the edges are set, and the centers have a slight jiggle.
8. Cool: Remove from the oven and let the cheesecakes cool at room temperature for about 30 minutes. Then, transfer to the refrigerator and chill for at least an hour.
9. Top and Serve: Once chilled, top your mini cheesecakes with fresh fruit or drizzle with chocolate sauce if desired.
How to Serve
Serving Mini Birthday Cheesecakes can be a delightful experience. Here are some tips to elevate your presentation and enjoyment:
1. Choose Your Platters: Use decorative plates or tiered cupcake stands for an elegant look.
2. Add Fresh Fruit: Consider placing a slice of strawberry, blueberry, or raspberry on top of each cheesecake for a pop of color.
3. Chocolate Sauce Drizzle: Drizzling a bit of chocolate sauce adds an indulgent touch that everyone will love.
4. Garnish with Mint: A sprig of mint on top not only looks beautiful but adds a fresh flavor touch.
5. Pair with Beverages: Serve alongside a cold glass of milk or a delightful cup of coffee to enhance the flavors.
With these serving ideas, your Mini Birthday Cheesecakes will not only taste amazing but also look stunning on any dessert table!
Additional Tips
– Use Room Temperature Ingredients: Ensuring your cream cheese and eggs are at room temperature will help create a smooth batter without lumps.
– Experiment with Flavor Extracts: Beyond vanilla, consider adding almond or lemon extract to enhance the flavor profile.
– Serve with Sauces: Complement your cheesecakes with various sauces, like caramel or berry coulis, for added flavor.
– Chill Longer for Best Results: For optimal texture and flavor, chill your mini cheesecakes overnight before serving.
Recipe Variation
Feel free to put your spin on Mini Birthday Cheesecakes! Here are several variations to consider:
1. Chocolate Cheesecakes: Add cocoa powder to the filling for a rich chocolate flavor.
2. Lemon Zest: Incorporate lemon juice and zest into the filling for a zesty, refreshing taste.
3. Nutty Crunch: Stir in finely chopped nuts, like pecans or walnuts, for added texture in the crust or filling.
4. Berry Swirl: Fold in a layer of fruit puree into the cream cheese filling for a beautiful swirl effect.
5. Pumpkin Spice: During the fall, mix in pumpkin puree and spices for a seasonal twist.
Freezing and Storage
– Storage: Mini Birthday Cheesecakes can be stored in the refrigerator for up to 4-5 days in an airtight container.
– Freezing: These treats freeze very well! Wrap each mini cheesecake tightly in plastic wrap and then place them in a freezer-safe container. They can be frozen for up to 3 months. Thaw them in the fridge overnight before serving.
Special Equipment
To successfully make your Mini Birthday Cheesecakes, you will need:
– 12-cup muffin tin
– Cupcake liners
– Mixing bowls
– Electric mixer (or a whisk and strong arm)
– Rubber spatula for cleanup
– Measuring cups and spoons
Frequently Asked Questions
Can I use a different type of crust?
Absolutely! You can experiment with different types of cookies, such as Oreo or vanilla wafers, for a unique flavor.
What should I do if my cheesecakes crack?
To prevent cracking, avoid overbaking and consider baking your cheesecakes in a water bath for more even cooking.
Can I make these gluten-free?
Yes, simply substitute the graham cracker crumbs with gluten-free alternatives.
Do I need to bake them in cupcake liners?
While it helps with easy removal, you can also grease the muffin tin directly and skip the liners if preferred.
How do I know when my mini cheesecakes are done?
Look for the edges to be set while the centers may still jiggle slightly. They will firm up as they cool.
Conclusion
Mini Birthday Cheesecakes are not only a delightful treat but also an impressive dessert that will have everyone talking. Their creamy texture, customizable toppings, and eye-catching presentation make them an ideal choice for any celebration. Whether for a birthday bash or a cozy get-together, these mini cheesecakes are sure to please. Dive into this incredible recipe and enjoy every bite of these little pieces of heaven!